Quick question. You actually work in bordered devices? Is this so you can get a ‘better’ idea of what will be obstructed when seen on a real device? If so, my help will only be partly helpful.
I can help you get started on borderless variants, but I don’t have any image skins for the frames, so you’ll need to tweak anything I make for that.
I’ll probably make one or two, then
- Post links to the finished skins.
- Post the steps I used to make them.
That way, you and other future readers can make additional ones as needed.
PS - My personal devices are:
- iPad Air (generation ?)
- iPhone XR
- Google Pixel 3a XL
PPS - I will try to make one bordered variant, but I can’t promise It will be great.
I forgot what a pain this is to do…
So far I haven’t finished a skin because I can’t remember the steps to align the inner frame.
This is what I have done so far:
1. Downloaded images of devices: https://facebook.design/devices

2. Duplicated file: iPhone6.lua (from skins folder; then saved to desktop)

3. Renamed duplicate as: iPhoneXR.lua (on desktop)

4. Determined resolution of iPhone XR: 828 x 1792 (portrait)

5. Found "Apple iPhone XR Space Grey.png" in devices zip (from step 1) and opened in editor.

6. Resized "Apple iPhone XR Space Grey.png"  till it had an inner dimension of 828 x 1792
(I had to unlock the aspect ratio to get it to work).

7. Saved resized image as iPhoneXR.png to desktop, then copied to skins folder.

8. Edited iPhoneXR.lua (from step 3)
screenWidth, screenHeight, iosPointWidth, iosPointHeight - Easy.  Just resolution and half resolution.
I still have to adjust more params to get everything aligned, but I’m out of energy and time.
Honestly I suggest using a custom resolution and not making extra skins.
For now I’m done until other folks give feedback or someone takes this the extra mile.
PS - This is an excellent starter project to work out the alignments:
https://github.com/roaminggamer/RG_FreeStuff/blob/master/AskEd/askEdStarter.zip
TIP: On Windows (not sure about OSX) you must edit and save files lua/png somewhere other than the skins folder, then COPY them to the skins folder. Editing in place does not work.
You also need to quit and then restart the simulator to load the copied skin files.
1 Like
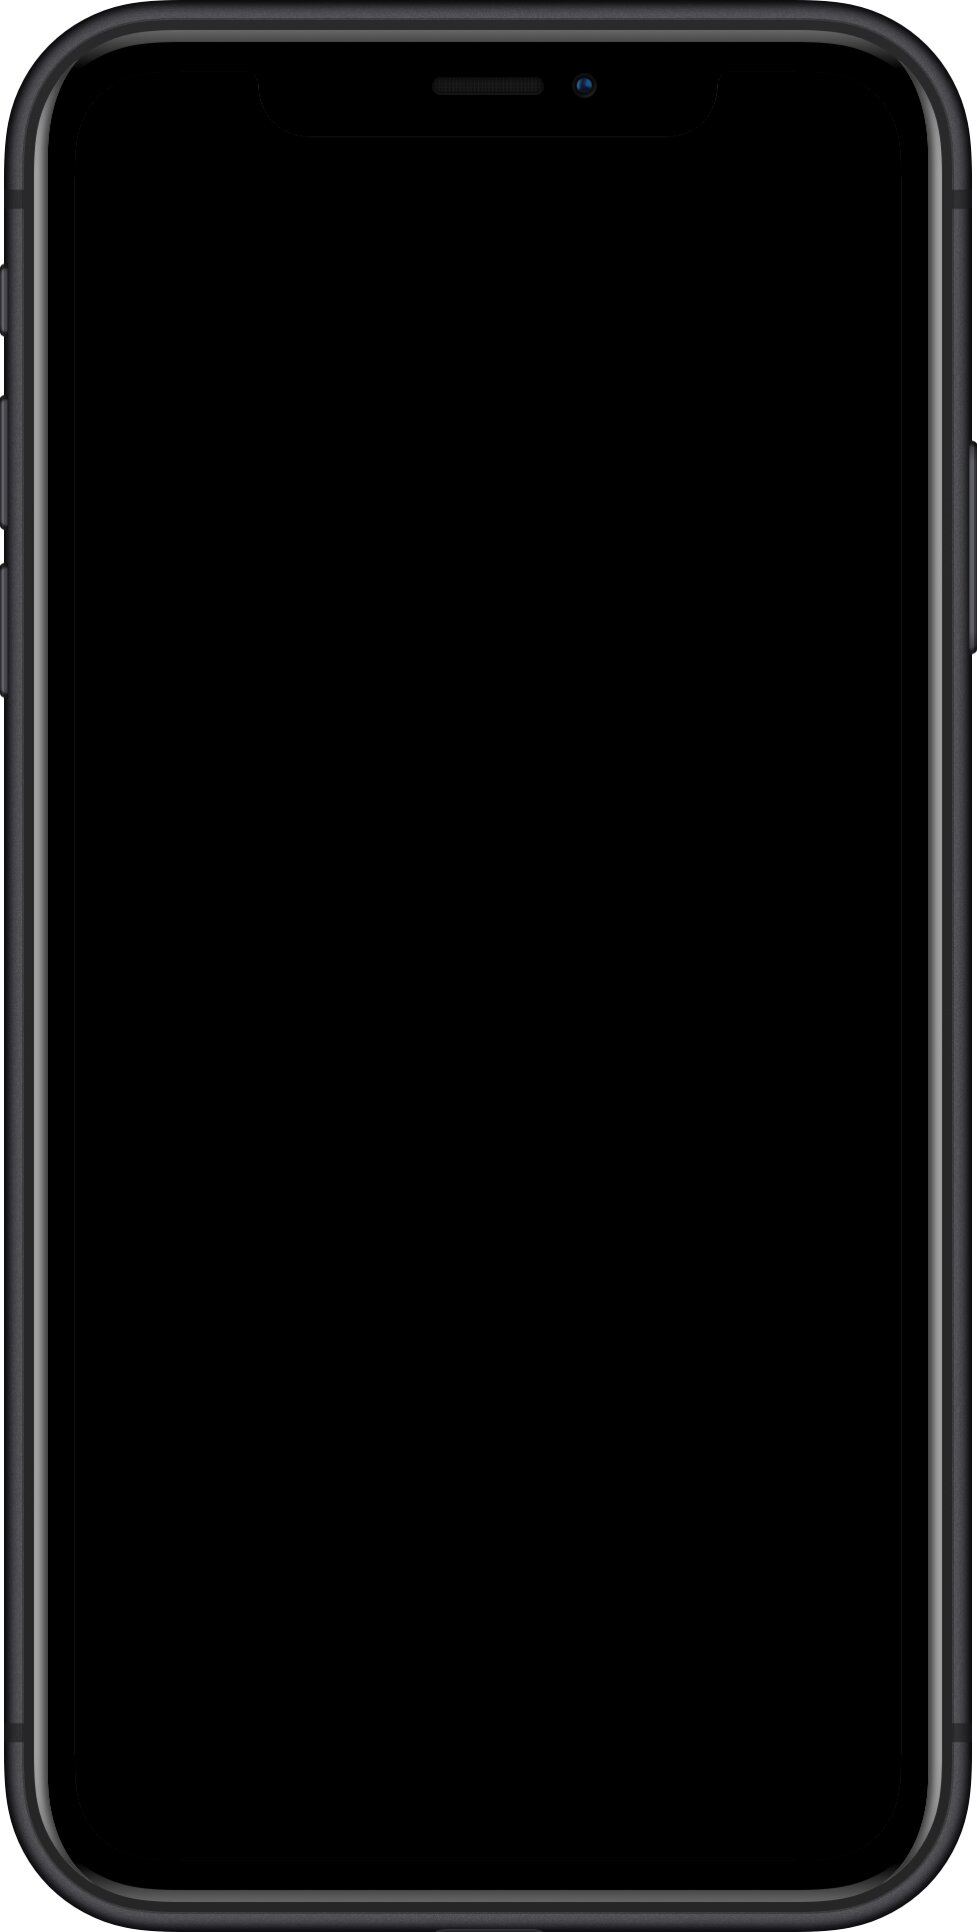
This is what I have for the iPhone XR so far:
simulator =
{
	device = "ios-phone",
	screenOriginX = 74,  -- 55 original
	screenOriginY = 68, -- 215 original
	screenWidth = 828,
	screenHeight = 1792,
	iosPointWidth = 828/2, -- half of screenWidth
	iosPointHeight = 1792/2, --- half of screenHeight


	safeLandscapeScreenInsetStatusBar = 20 * 2,
	safeScreenInsetStatusBar = 20 * 2,
	deviceImage = "iPhoneXR.png",
	displayManufacturer = "Apple",
	displayName = "iPhone XR",
	statusBarDefault = "iPhone6StatusBarBlack.png",
	statusBarTranslucent = "iPhone6StatusBarWhite.png",
	statusBarBlack = "iPhone6StatusBarBlack.png",
	statusBarLightTransparent = "iPhone6StatusBarWhite.png",
	statusBarDarkTransparent = "iPhone6StatusBarBlack.png",
	windowTitleBarName = "iPhone XR",
	defaultFontSize = 17 * 2,		-- Converts default font point size to pixels.
}
image got converted to jpg on upload, but it should be a png when you create your own.
PS - Something is still wrong with the lua file.
As mentioned by roaminggamer above, “skins” is platform independent, consisting of “lua” files and “png” images. However, if a person wants to build an iOS app, then he/she would need a Mac.
@roaminggamer, Thank you. I’ll give it a try. Any idea why Vlad hasn’t kept these up to date? Is he just assuming we’ll use the XCode Simulator?
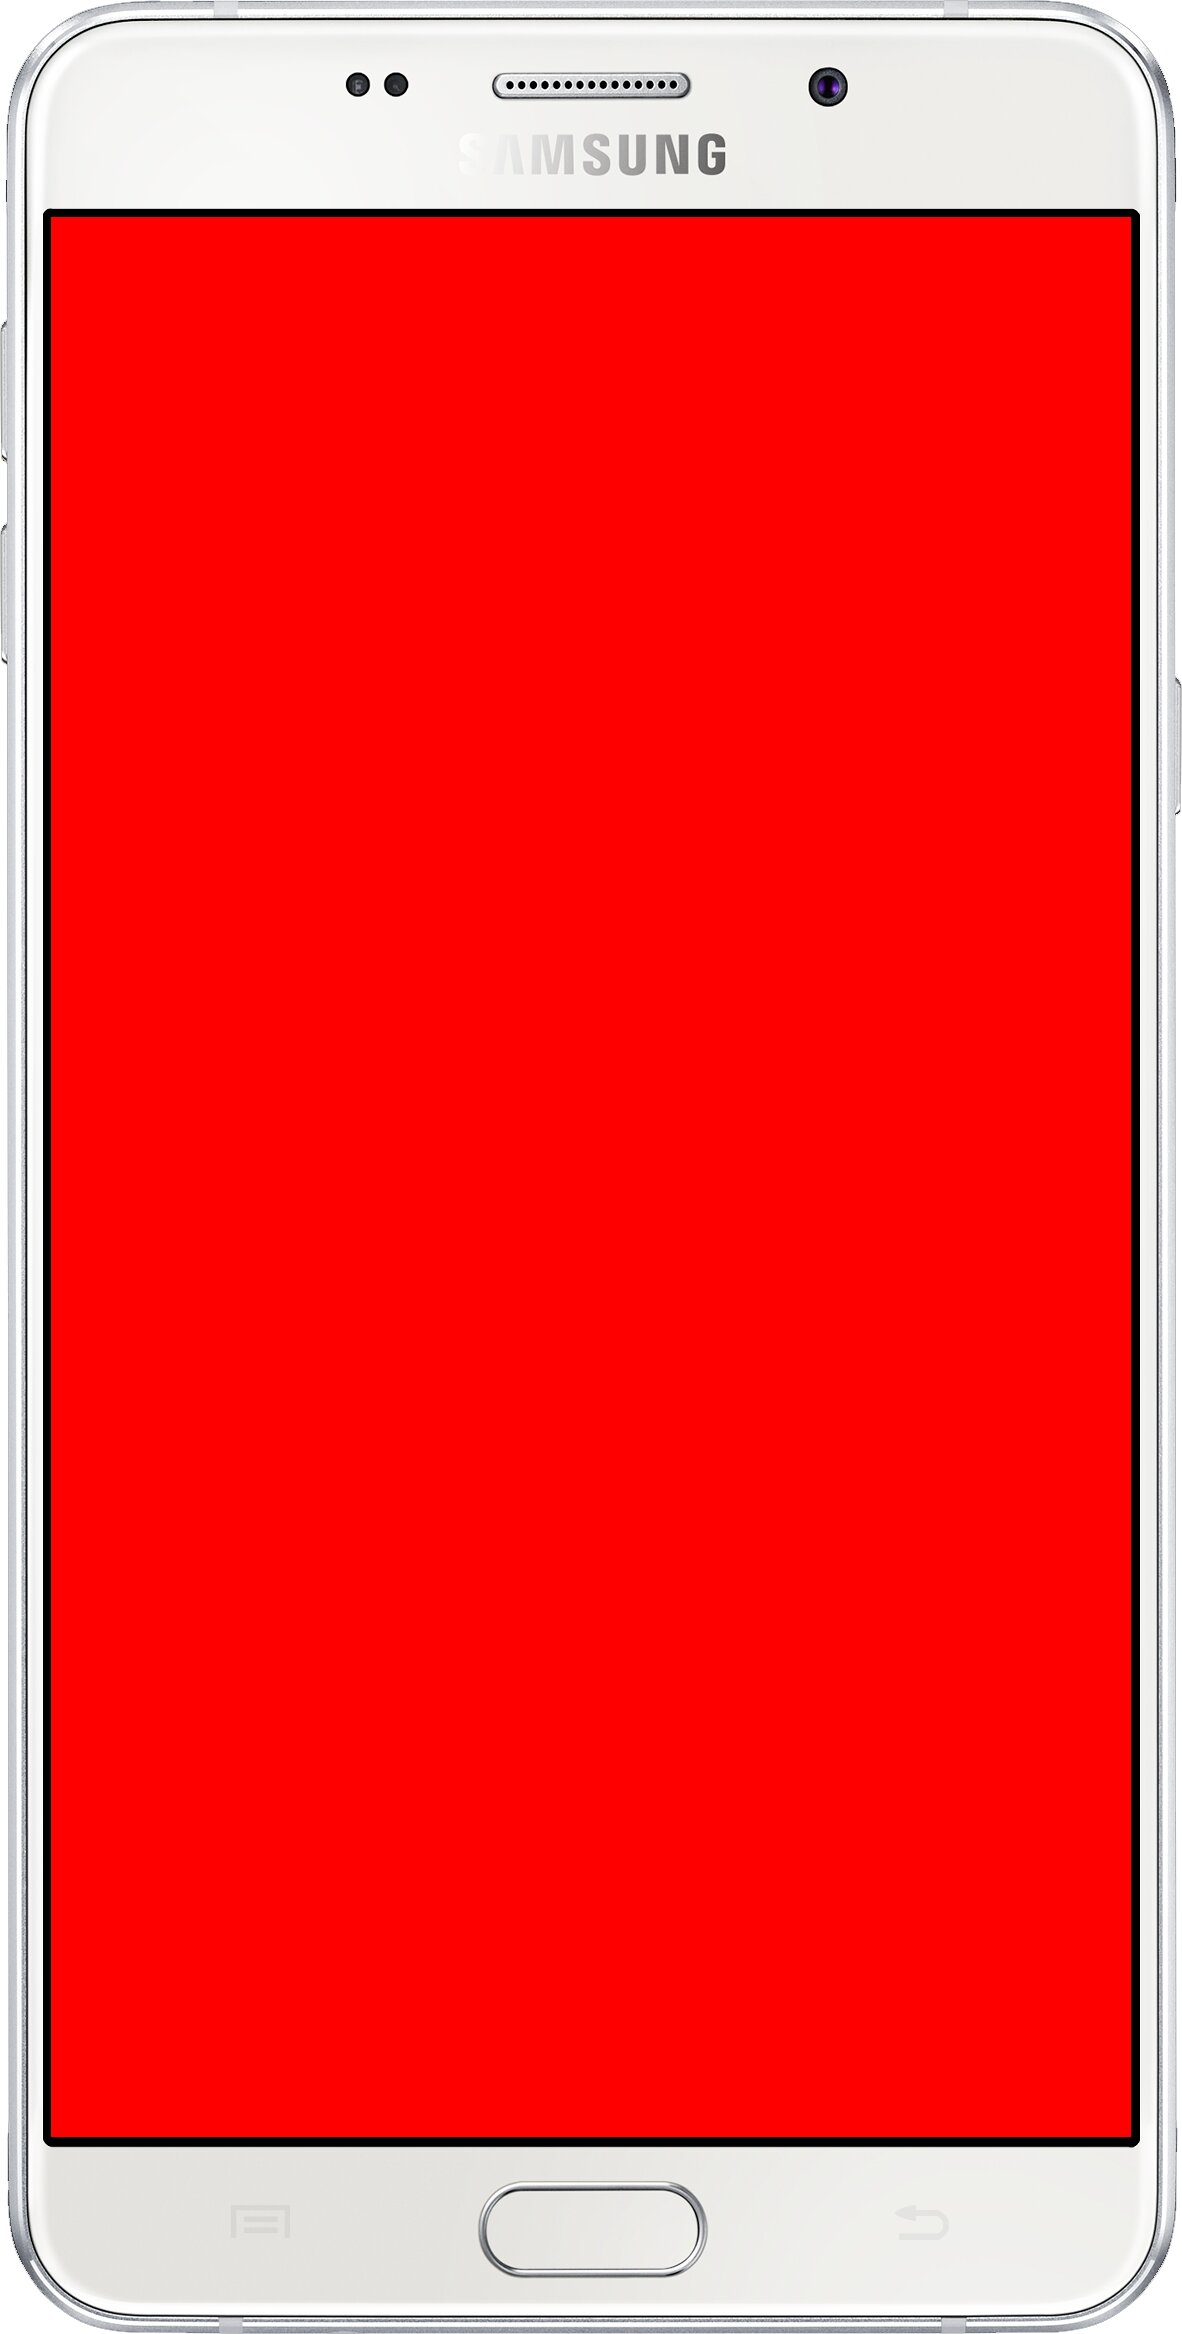
Following Ed’s (@roaminggamer) guide on “Skins” creation, here is my first attempt. Below is “Samsung-Galaxy-A9-2016.lua” and “Samsung-Galaxy-A9-2016.png”.
simulator = {
    device = "android-phone",
    screenOriginX = 51,
    screenOriginY = 197,
    screenWidth = 1080,
    screenHeight = 1920,
    androidDisplayApproximateDpi = 367,
    deviceImage = "Samsung-Galaxy-A9-2016.png",
    displayManufacturer = "samsung",
    displayName = "SM-A900F",
    screenSize = 6.0, -- inches
    screenRatio = "16:9",
    statusBarDefault = "",
    statusBarTranslucent = "",
    statusBarBlack = "",
    statusBarLightTransparent = "",
    statusBarDarkTransparent = "",
    windowTitleBarName = "Samsung Galaxy A9 (2016)",
}
simulator.defaultFontSize = 18.0 * ( simulator.androidDisplayApproximateDpi / 160 )
I am not sure if this is 100% correct. I tested it out on my Solar2D SOW (Simulator on Windows) and it seems to work fine. You can ignore the “screenSize” and “screenRatio”, as these are parameters of interests to me only, and they are ignored by “SOW”. Below is the “skin image” (it seems that the “png” has been auto-converted to “jpeg” upon “upload”).
2 Likes
@troylyndon - I think Vlad is way too busy with features.
This is a ‘nice to have’ for some folks, but this isn’t something required (without which you can’t proceed).
Honestly, I think there are too many skins in the menu now. 
You don’t need this to make screenshots. Just use the borderless settings if they match the resolution or use a custom setting.
2 Likes